
I have been on a scramble for a desk chair for my new cabin, as my online productivity has been VERY low when all I can do it get cozy in bed with my laptop...which leads to me putting on Clone High, or catching up on some of my guilty pleasure television shows before falling asleep. Falling asleep does NOT equal new blog posts or Teal Tub Vintage updates, surprisingly.
Well, the other day I cam across a simply metal chair at the Transfer site, and decided to make it mine. So here, I present, the simple transformation:
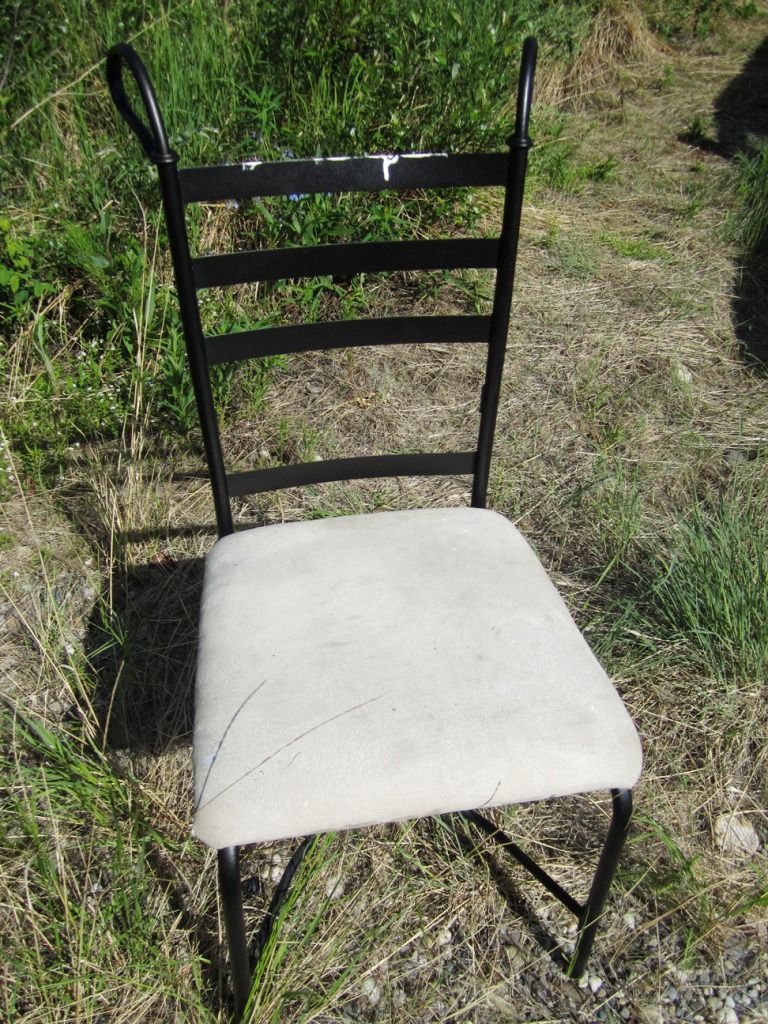
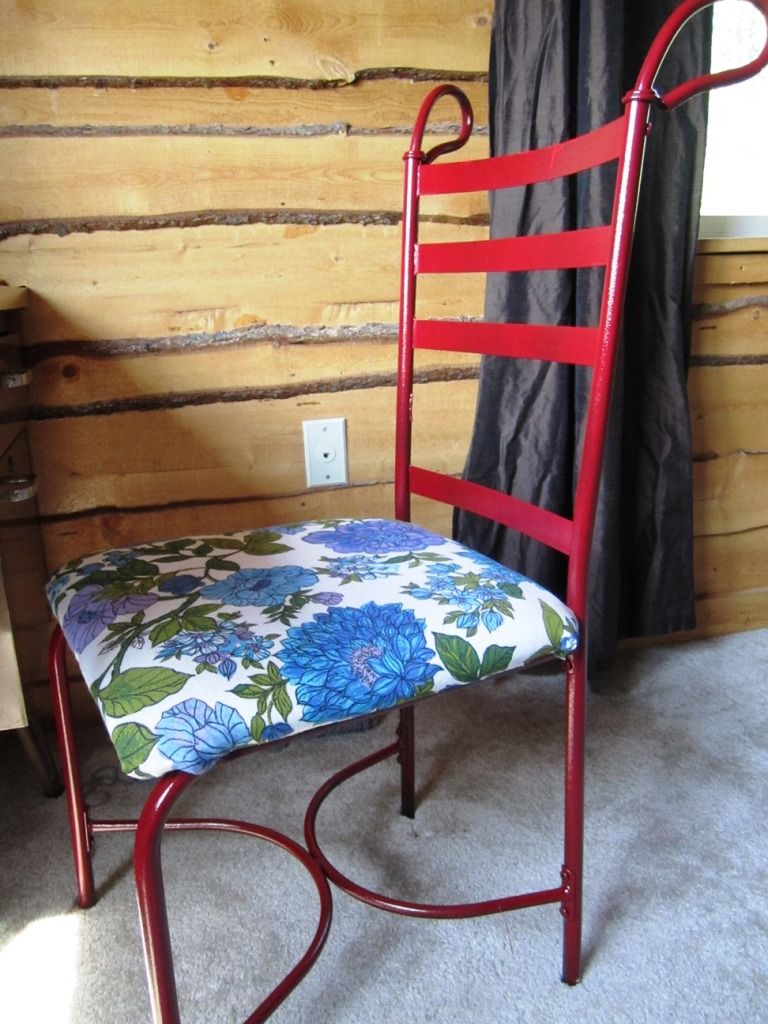
BEFORE and AFTER. (ohhhh, ahhhhhh)
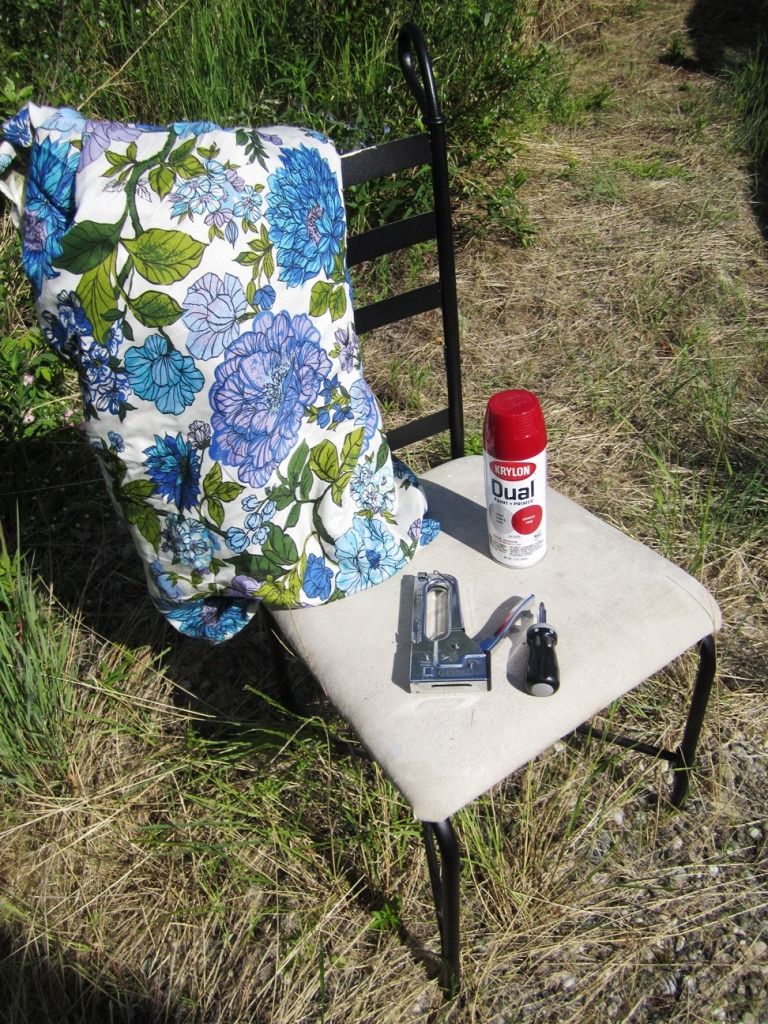
Supplies needed:
*Any old Chair that you can remove the cushion easily to reupholster
*Screwdriver
*Spray Paint
*Fabric of your liking
*Scissors
*Staple Gun
Alright. So Kids, this is an easy, easy upgrade. First, remove the chair seat from the actual metal Chair. It should be as simply as turning the chair over and removing screws from underneath. Set Chair seat/cushion aside, and move into the great outdoors, or a well ventilated area. now you are ready to spray paint!
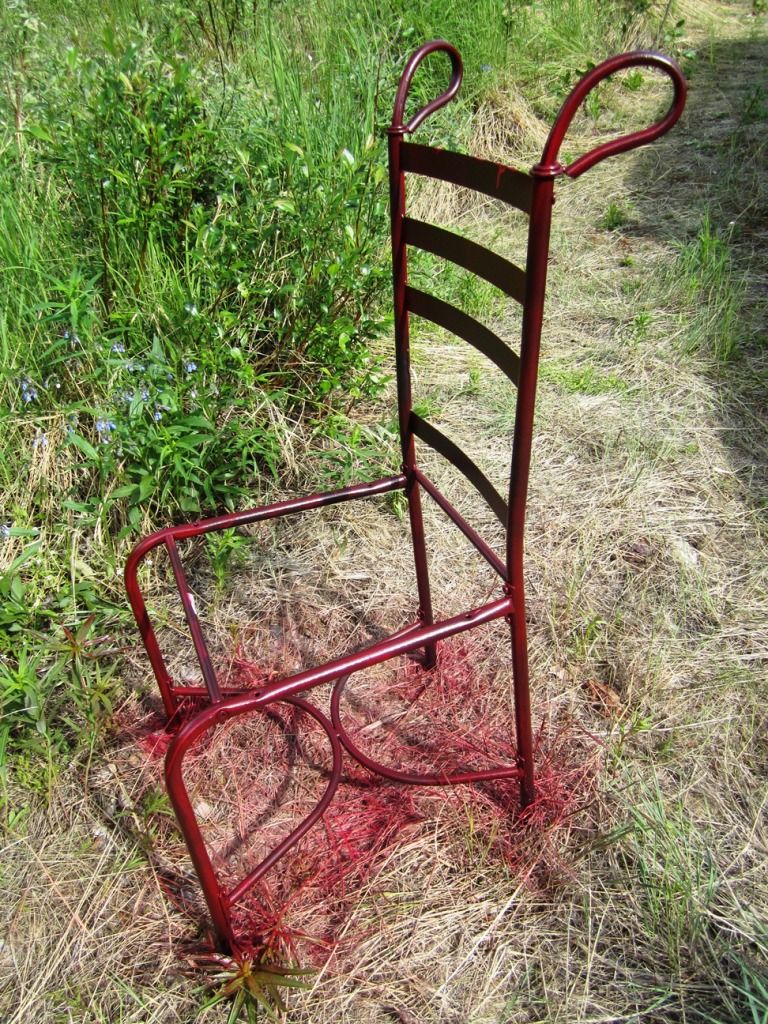
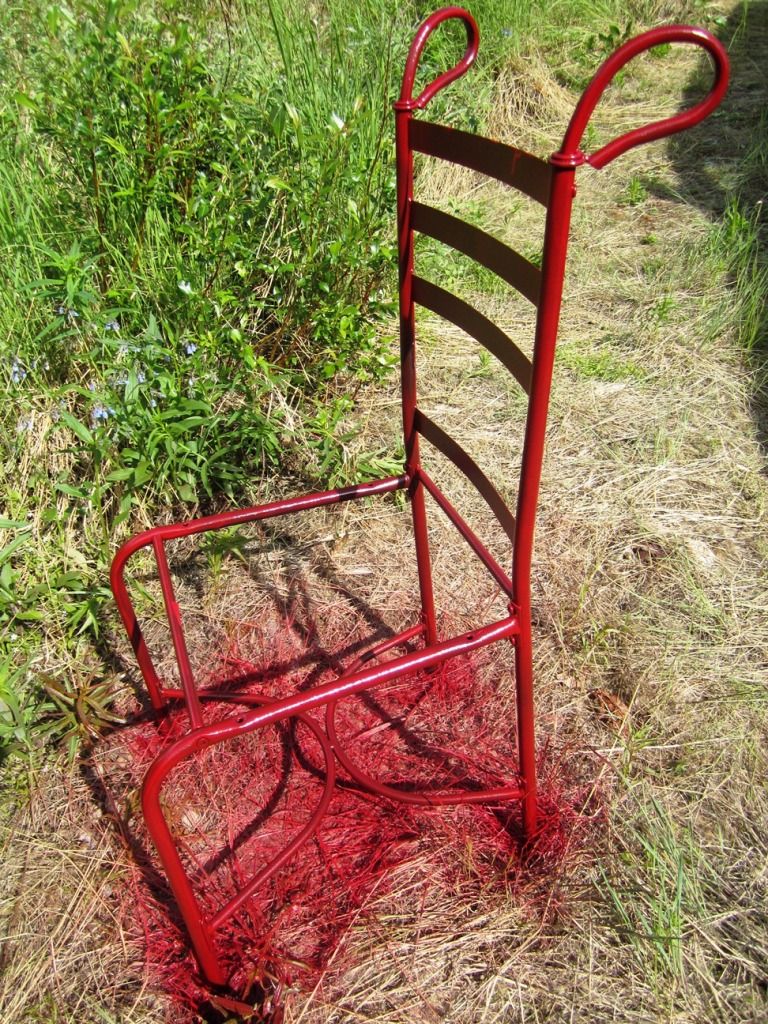
Coat One and Coat two. Let it be known, I am terrible at spray painting. My coats are never even, and I have lots of drip marks. Every time, without fail.
While Your spray paint is drying, and in between coats, you can move your focus back to your seat cushion. I am a fabric hoarder, and had this fabric laying around from when I Originally found it at the transfer site back last September. I simply spread the fabric out face down, placed my cushion down on top of it, also face down and simply cut out the shape of the cushion leaving about a 2-3 inch boarder.
Now you can simply make your way around the cushion, pulling the fabric taunt, and stapling it to teh underside of the seat. (Staple gun. Best Purchase of... 2010? yeah. Best purchase, by FAR.)
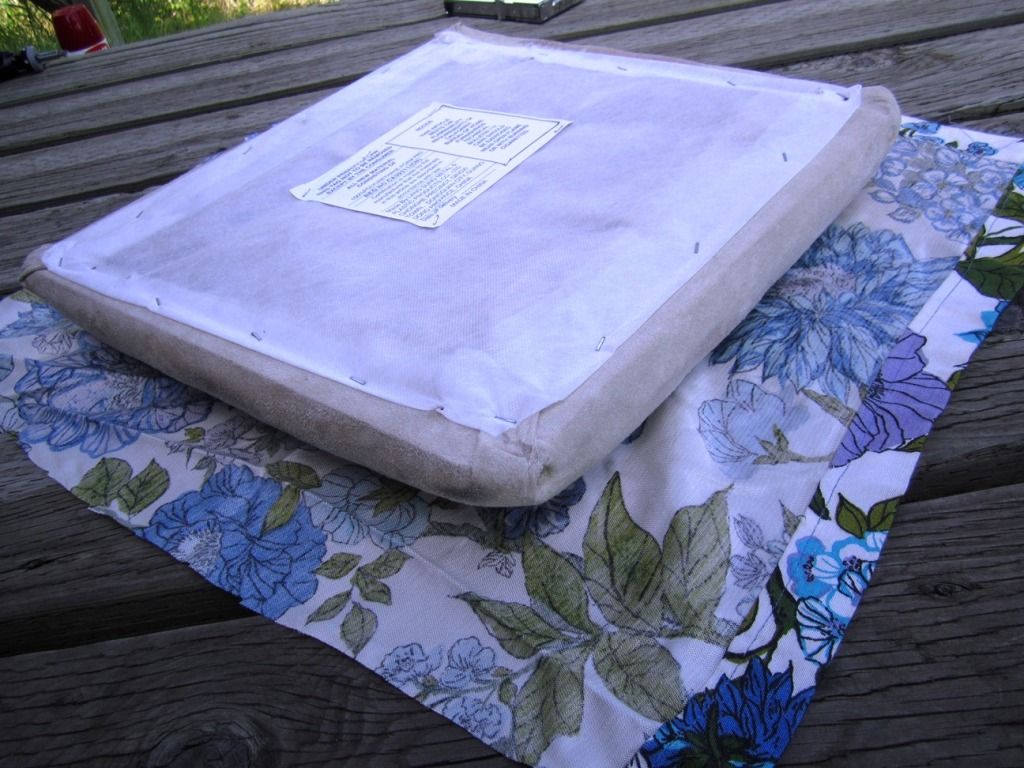
Images help to explain where words can't. I am both terrible at using my words AND taking instructional photos...
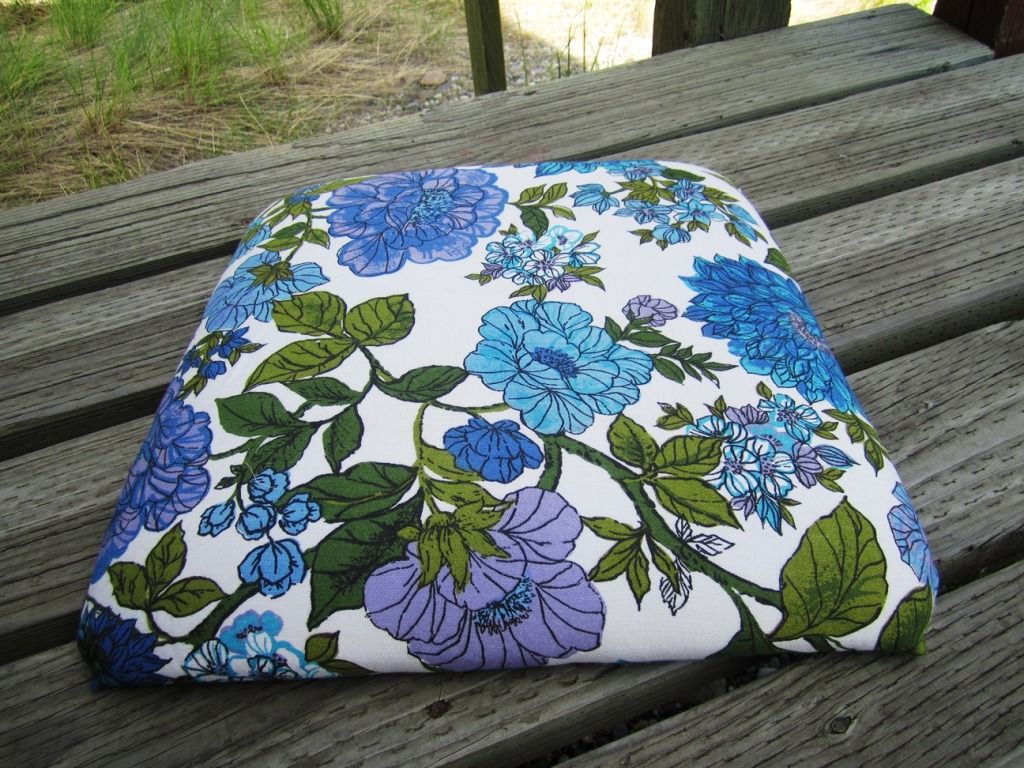
Once you finish stapling, and your spray paint has dried adequately (now really, make sure to let it dry. No impatience here kids!) You can reattach the seat cushion to the main chair frame by simply using the same screws and holes that were already there. and TADA! Chair complete!

This would be the chair in it's natural habitat, and I can say I am pretty happy with the results...next project? Tackle that desk you see there. I have lots of ideas folks, lots of ideas...
No comments:
Post a Comment
Say what you will...